There is one piece of software you will need for this project.
The Vivado Design Suite is used to build your project, assign the package pins, and generate the programming file, and to transfer the programming file to the digiboard. The latest version is 2017.3 (as of 26 Oct 2017).
The detailed instructions below are from 2016.3, but the process is the same for 2017.3.
If you get this error when you try to start Vivado...
Eli Robertson found this fix: [click here for the solution]
If you have a MAC. Here is Ryan O'Toole's step by step-by-step instructions for installation. [click here]
You also need to download the installer from the Xilinx download page. Select the Vivado HLx 2017.3 WebPack. The WebPack is the free version which has everything we need. You can watch an installation video here. (The important parts in the video start at the 2:05 mark and end at the 4:10 mark). While going through the download process you must also register with Xilinx. You will be asked to provided a phone number and email address. There is also a short a survey. This account will be used to create your free license.From here you will need to create an account which can be found on the right side of the screen after the survey.You can also reach the downloads by:
a) Googling "Vivado download" and select "http://www.xilinx.com/support/download.html".
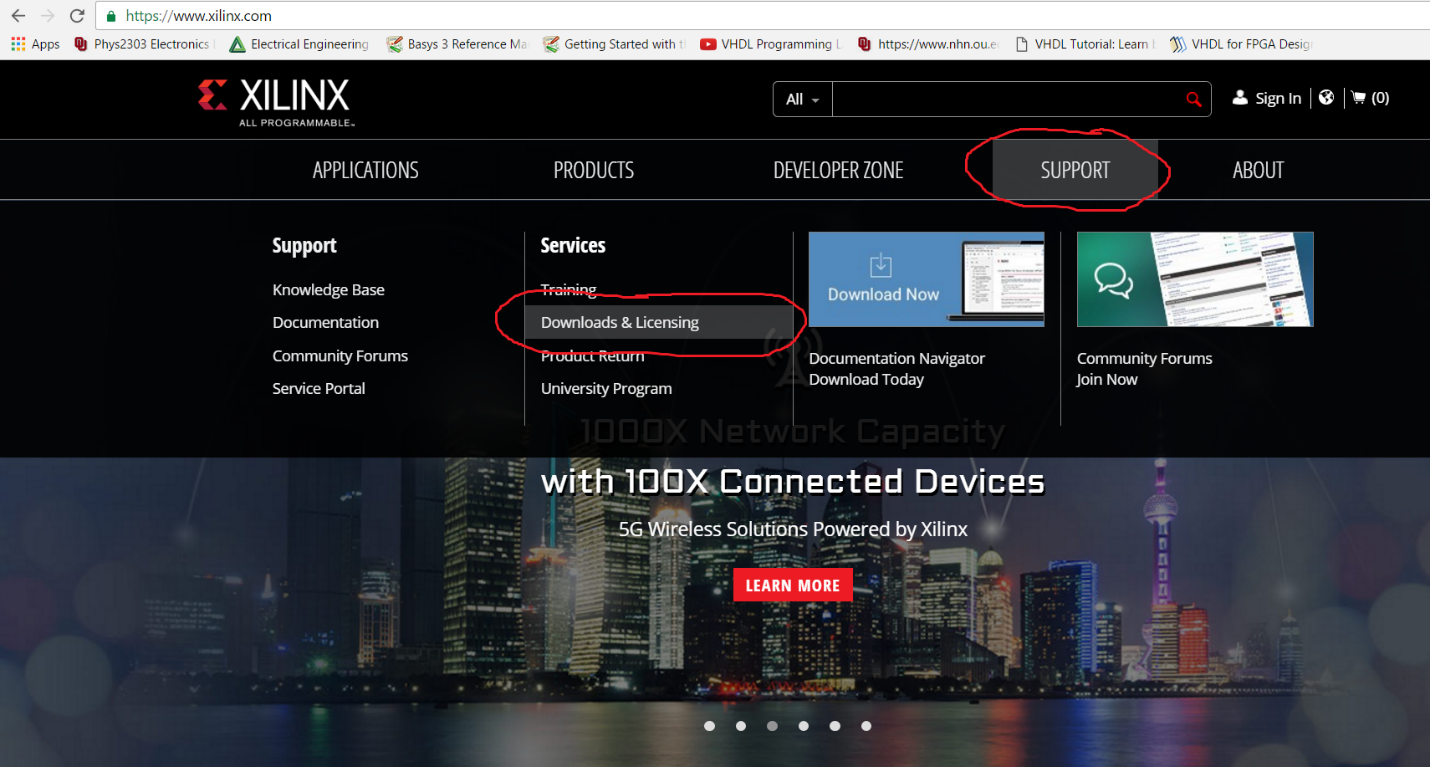
b) Navigate from the Xilinx home page http://www.xilinx.com --> support --> Download & Licensing.
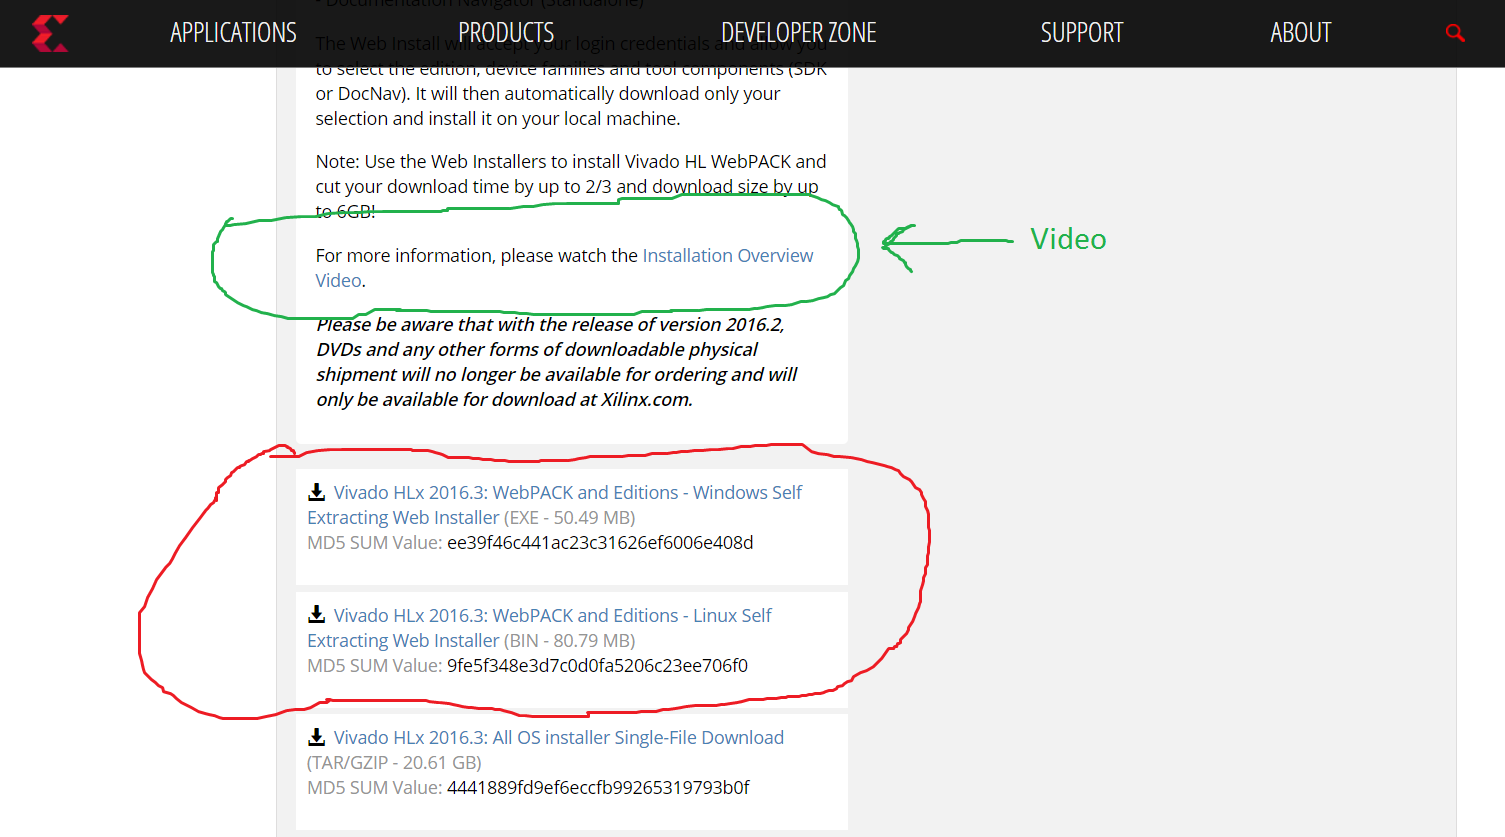
From here you will scroll down to the "Vivado Design Suite HLx Editions" and download the WebPACK edition for either Windows or Linux. (For this install, make sure that you are connected to the internet when you run the installer).
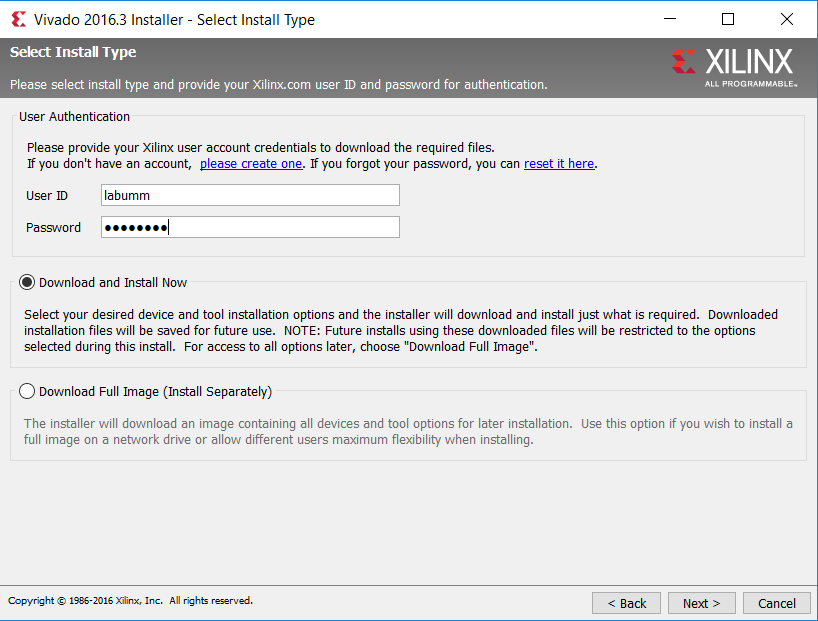
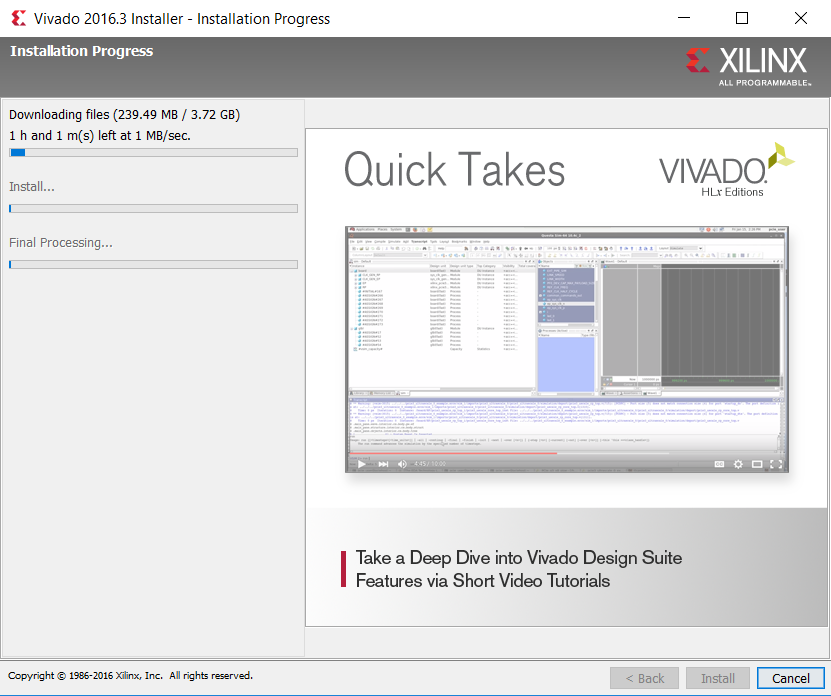
First you will be asked to complete a survey. Then you will need to register and create an account. After that, the installer will download as a self extracting archive. Run the installer.
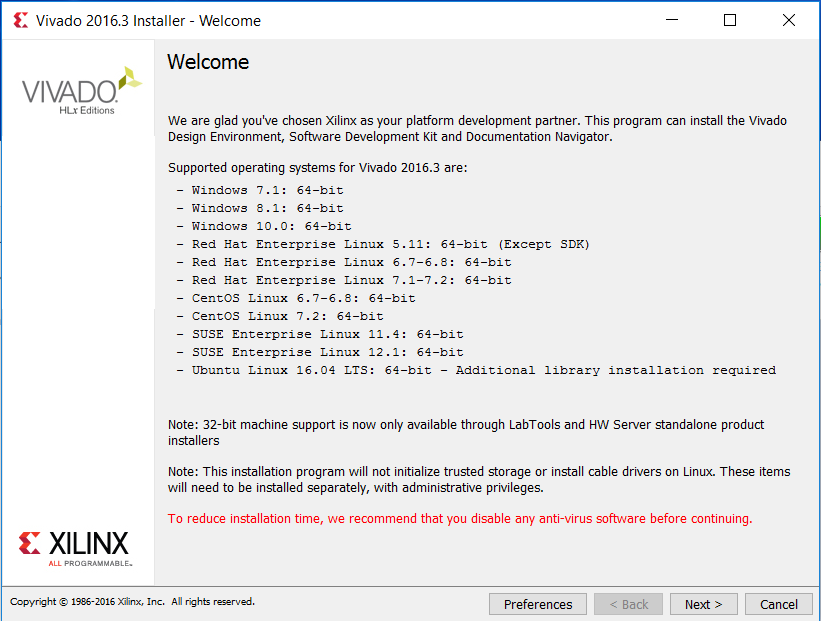
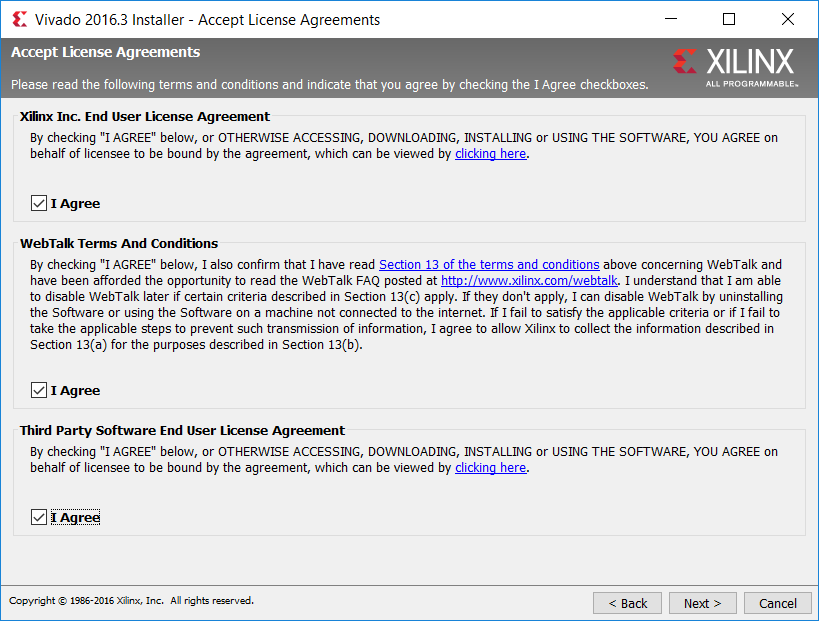
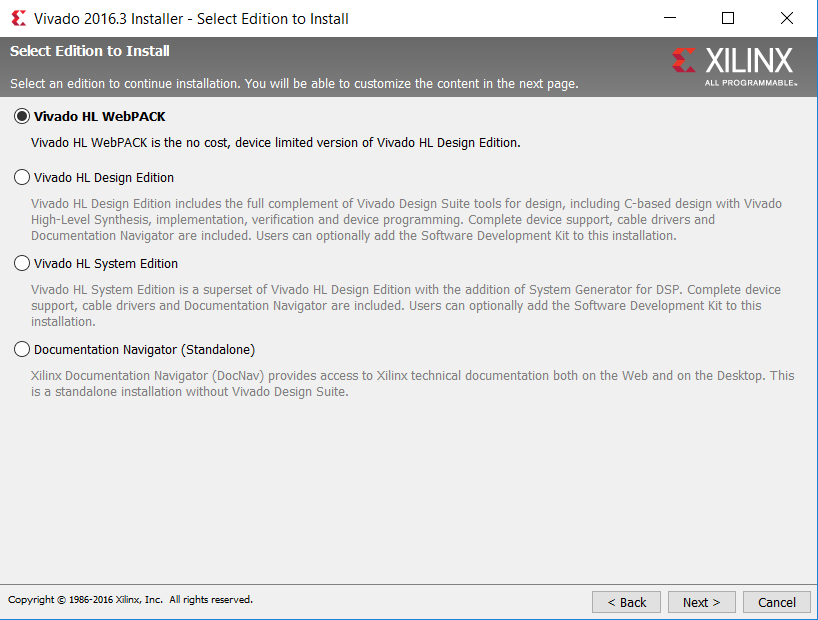
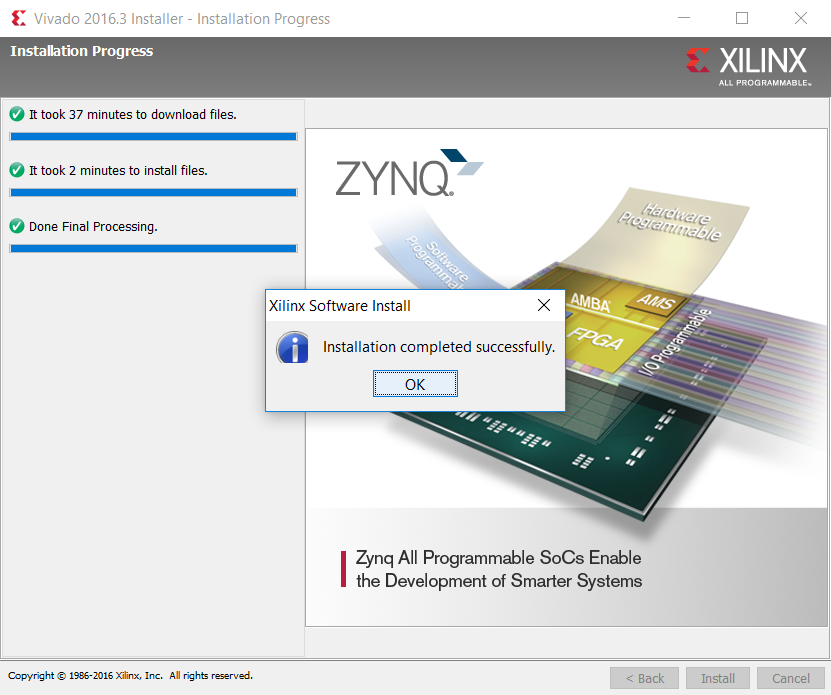
Below is the sequence of 21 screen shots showing the install of Vivado 2016.3 and the free license.
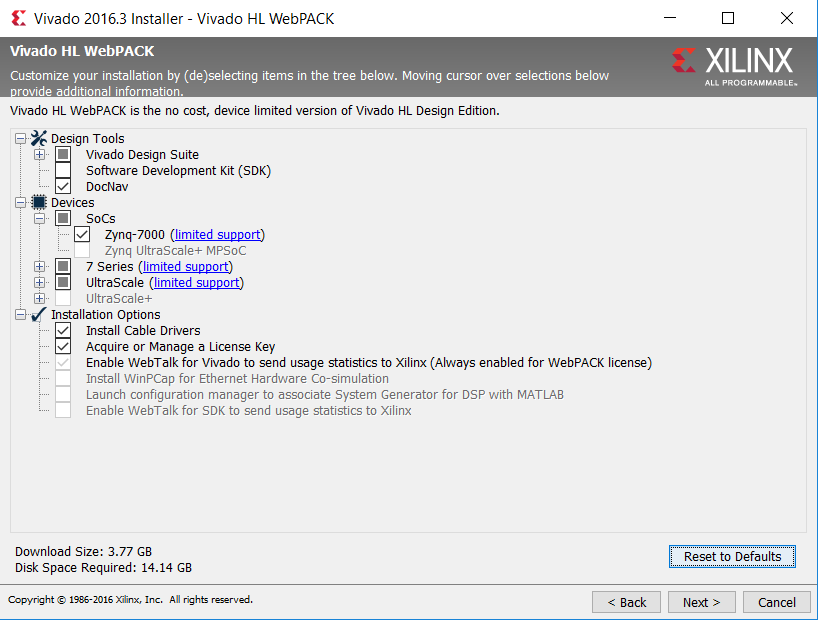
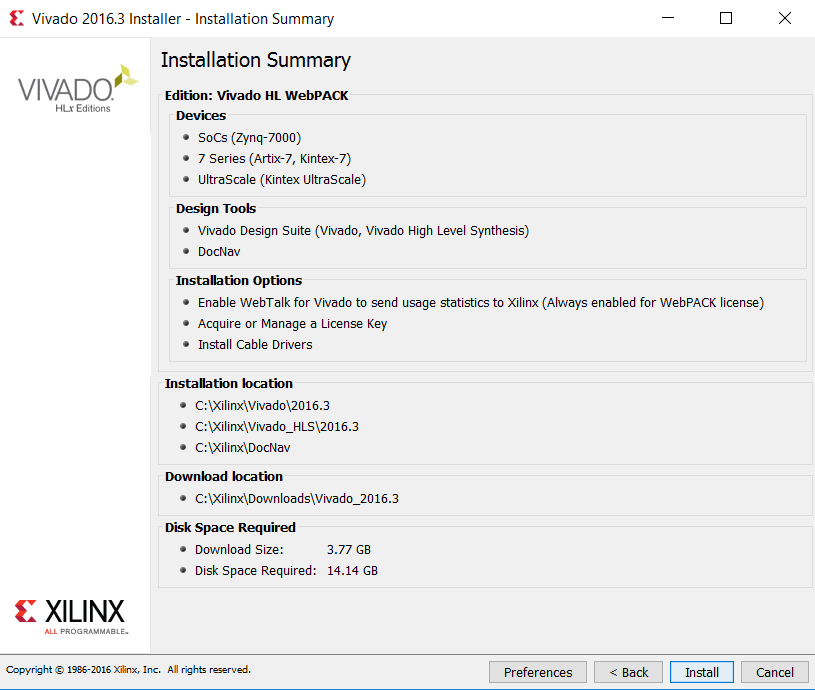
You can choose what components to install. Just accept the defaults. It includes the Artix-7, which is the FPGA we are using. Choosing more componets will just make the install larger.
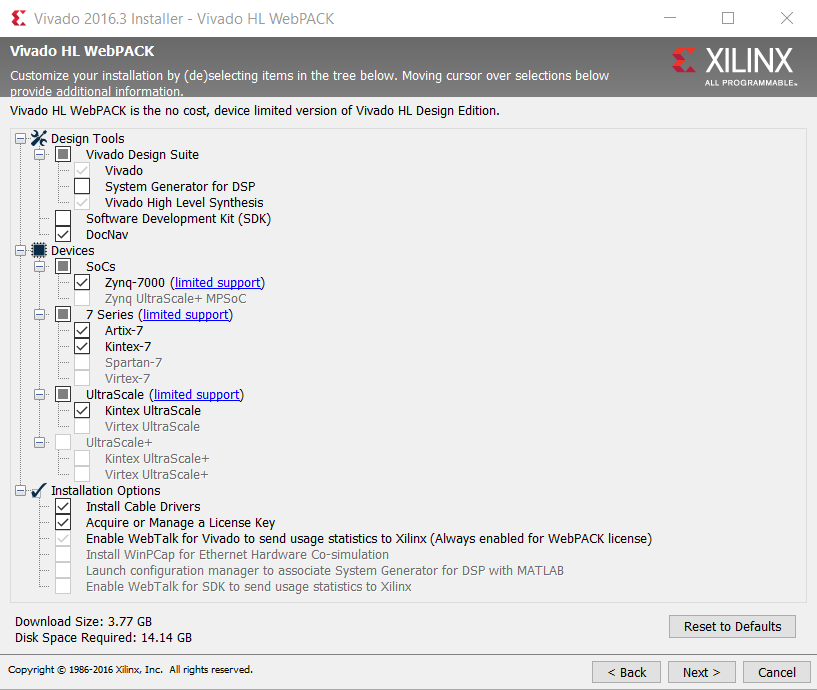
You can expand all the categories to see what you are installing. Click "reset to Defaults" if you want to reset to the initial settings.
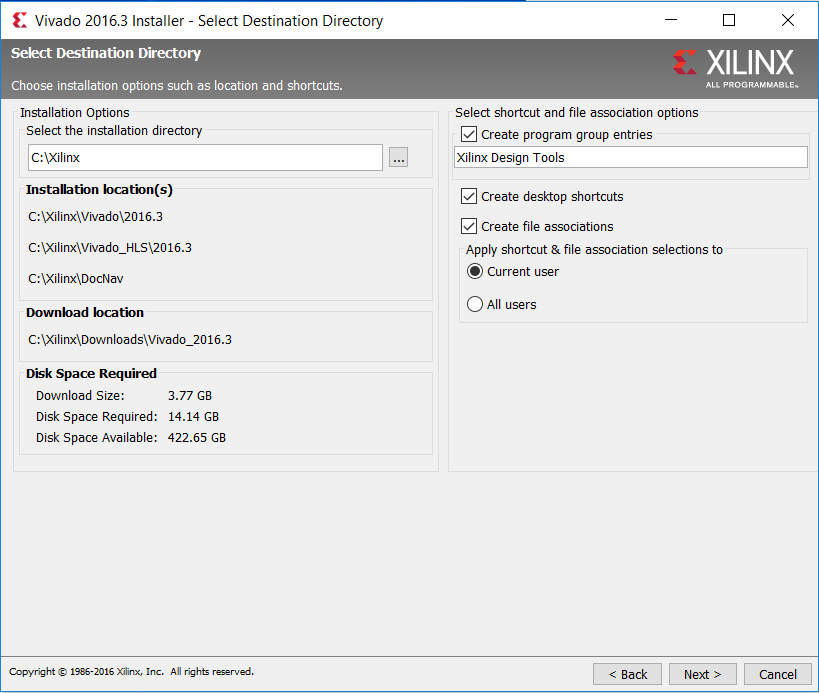
Accept the default directory for Vivado (c:\Xilinx) unless you have a good reason to pick another location.
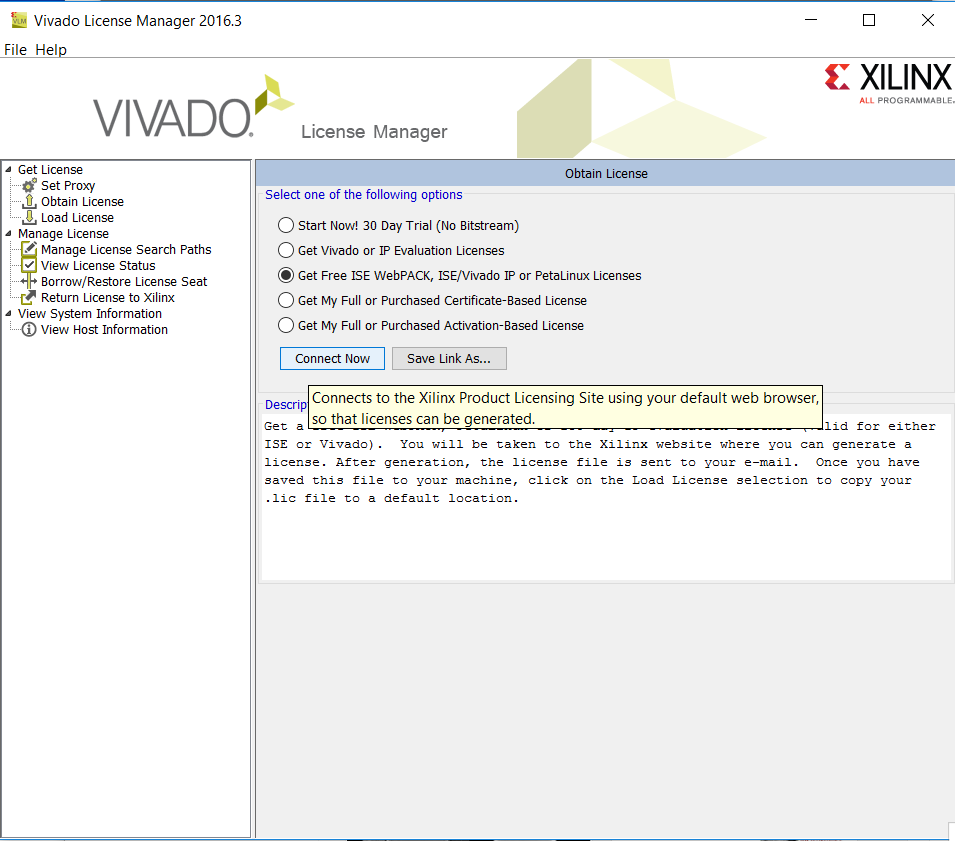
Select the "Get Free ISE WebPACK, ISE/Vivado IP or PetaLinux Licenses." This window is the Vivado License Manger. You will come back to this after you have the license file.
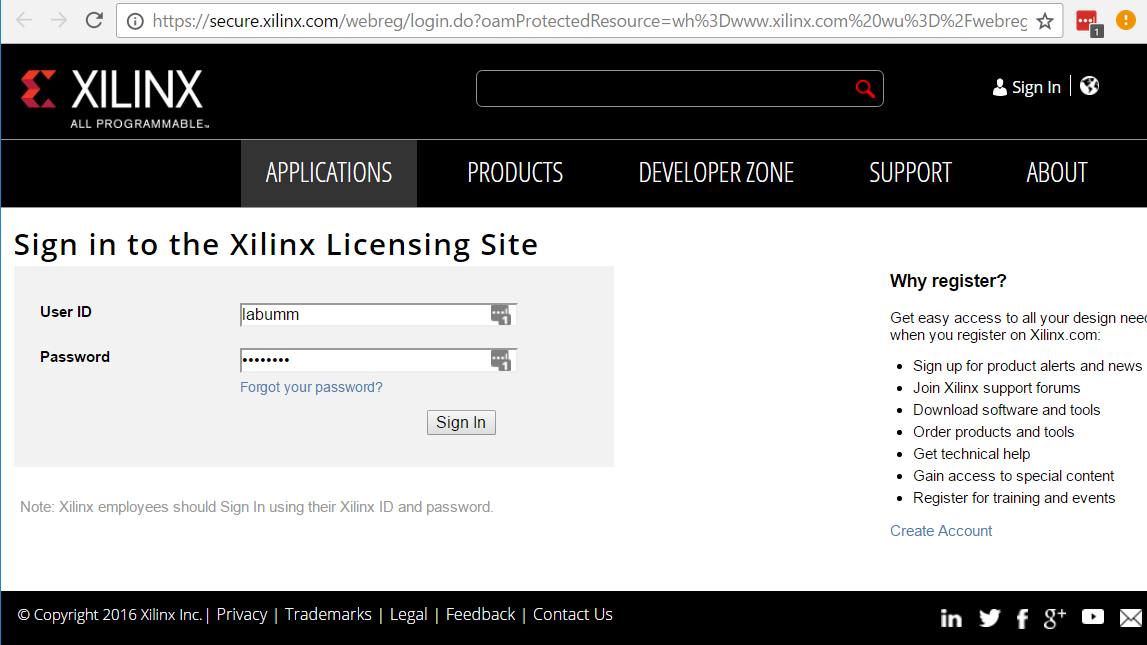
Log in to the account you created a few steps back.
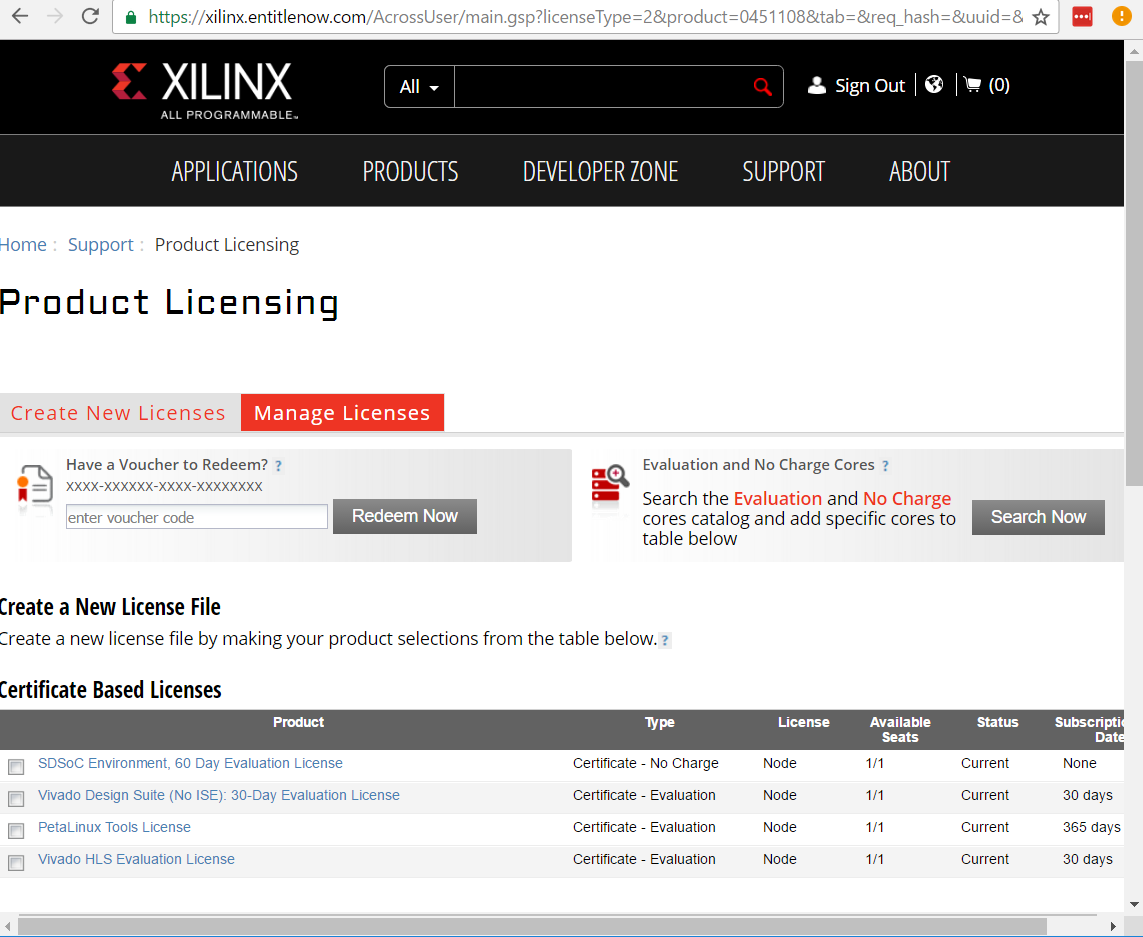
Naturally the screen comes up for the paid license options, ignore those, click on the "Manage Licenses" tab for the free license.
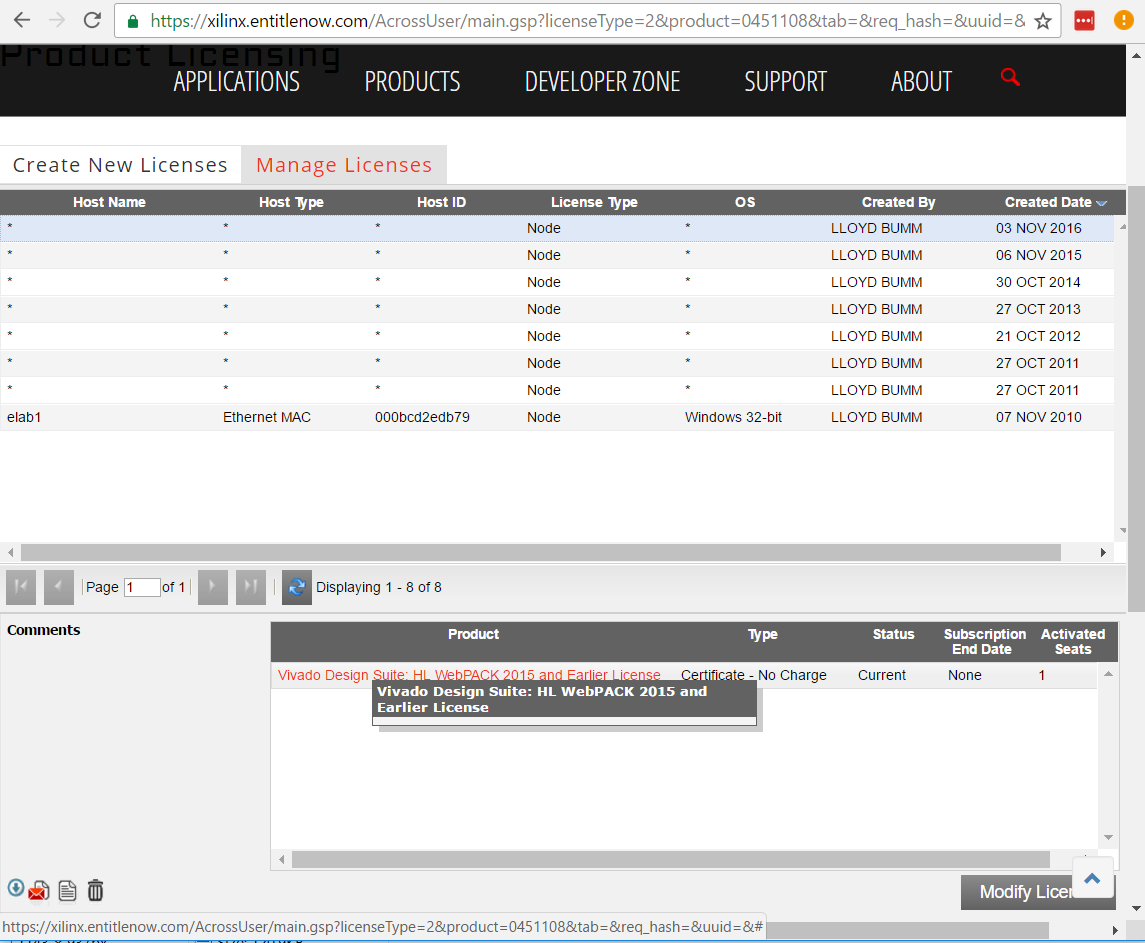
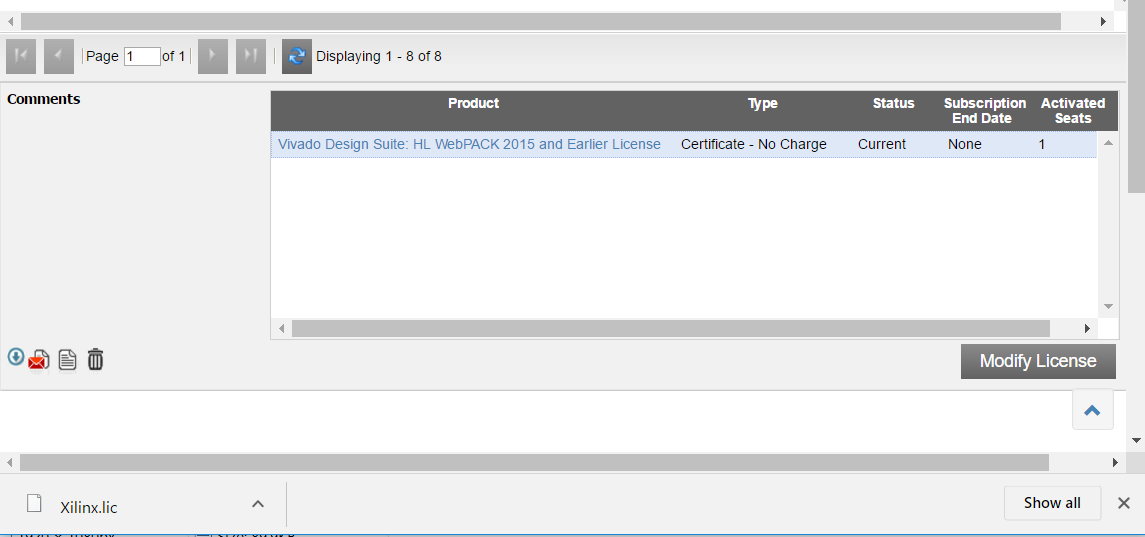
At the bottom you will see the free license.
Select the free license and click the download arrow in the bottom left to get the "Xilinx.lic" license file.
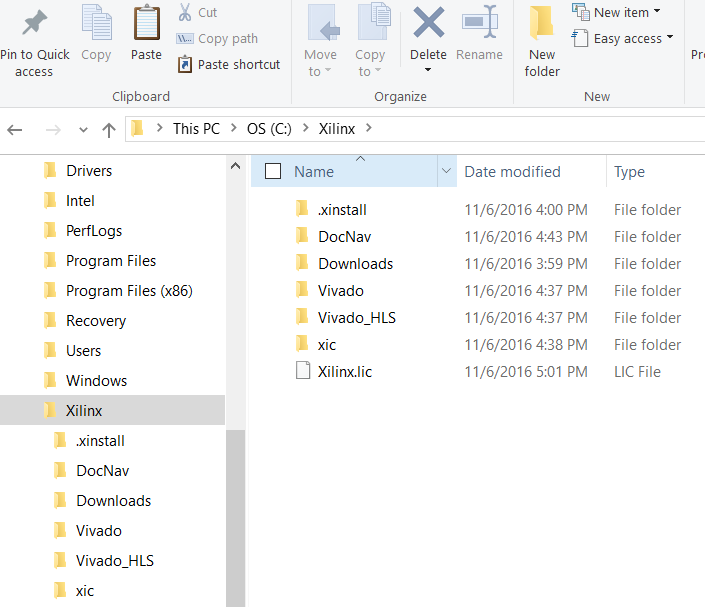
I find it easiest to copy the Xilinx.lic file into the root of your Xilinx directory. It makes it easy to find in a moment when you need to install it.
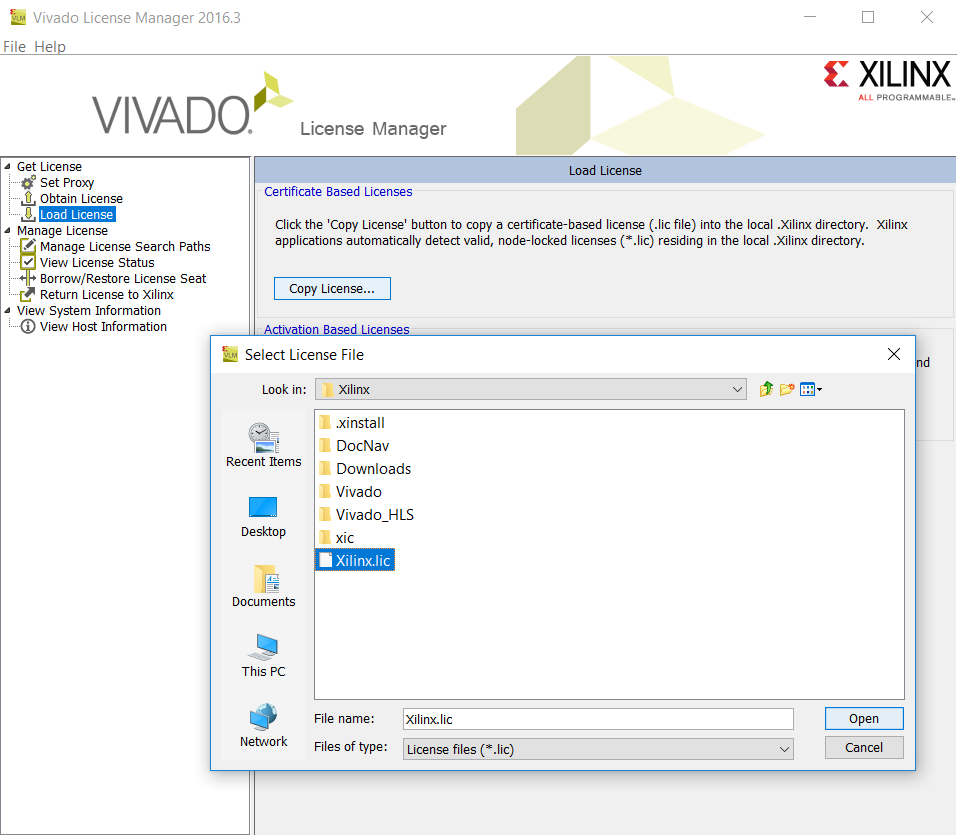
Back atthe Liscence Manager. Select "load license", then "copy license". Locate the "Xilinx.lic" file you just downloaded.
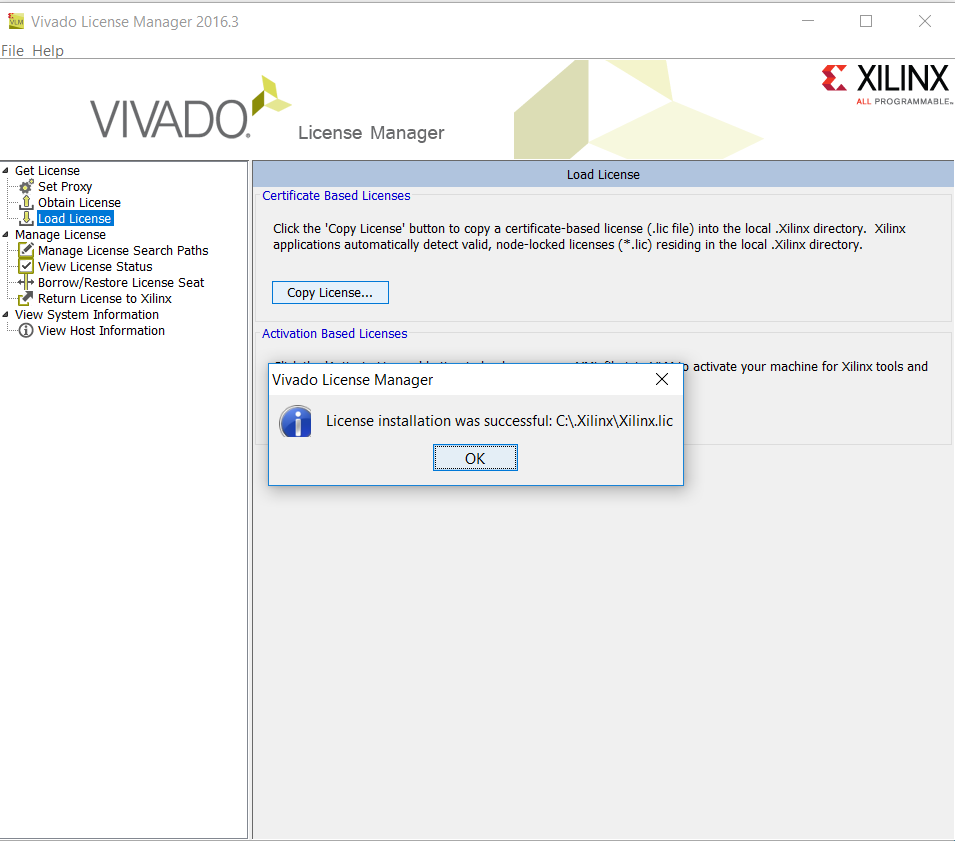
Recieve Joy.
Close the License Manager. Vivado Design Suite is ready to use!